Integrate TrueNAS with IDrive® e2
TrueNAS is an open source storage platform from iXsystems that turns standard x86 hardware into a powerful NAS using OpenZFS. It supports file, block, and object storage for both Community and Enterprise editions. Use cases range from home labs to enterprise backups and archives. TrueNAS integrated with IDrive® e2 delivers on-premises storage capabilities alongside a cost-effective, scalable cloud object storage solution for seamless backup, replication, and long-term retention.
Prerequisites:
Before you begin, ensure the following:
- An active IDrive® e2 account. Sign up here if you do not have one.
- A bucket in IDrive® e2. Learn how to create a bucket.
- Valid Access Key ID and Secret Access Key. Learn how to create an access key.
- TrueNAS web console and a valid TrueNAS user account.
Configure TrueNAS with IDrive® e2
- Log in to the TrueNAS web console.
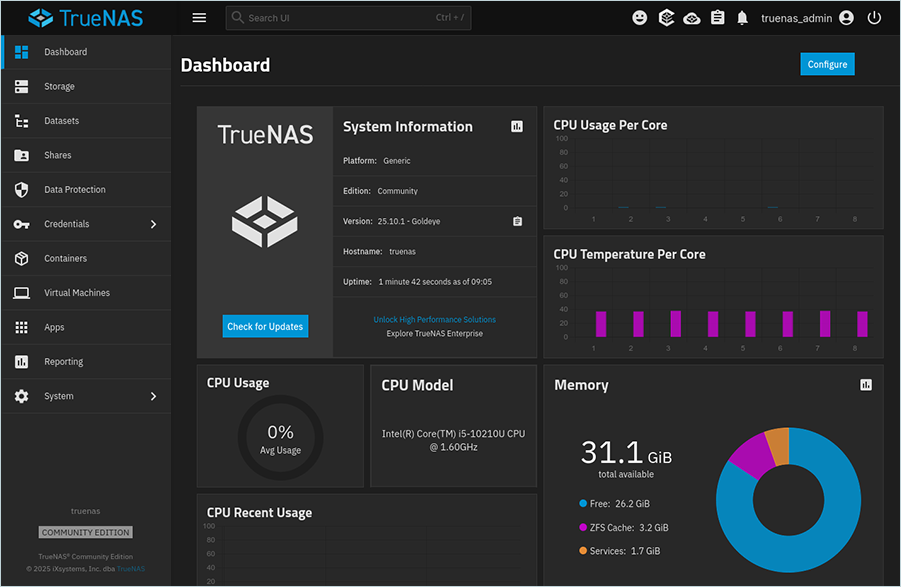
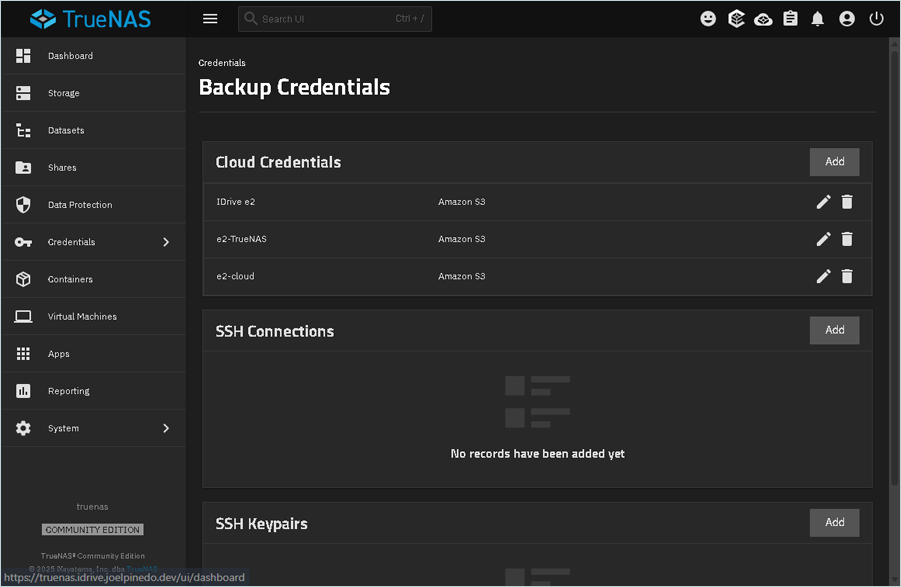
- Navigate to Dashboard > Credentials > Backup Credentials.
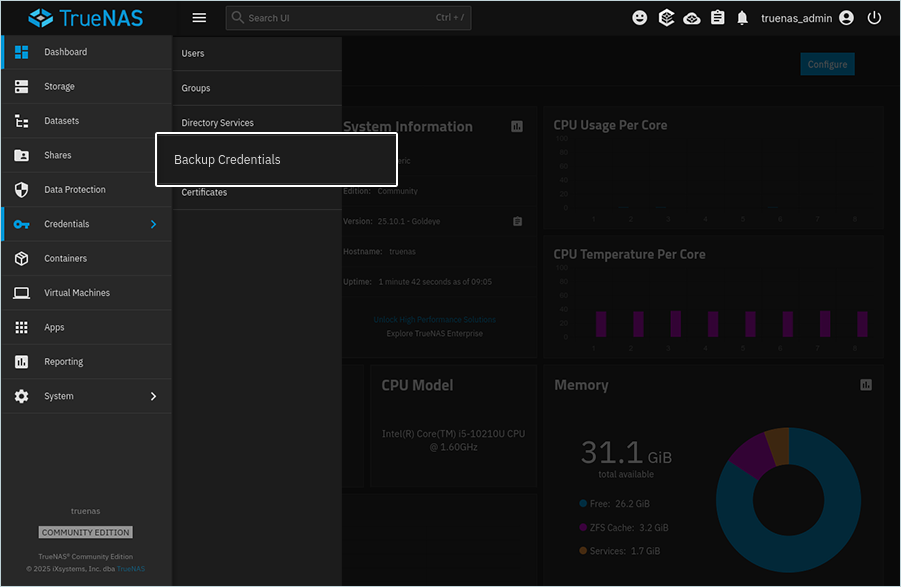
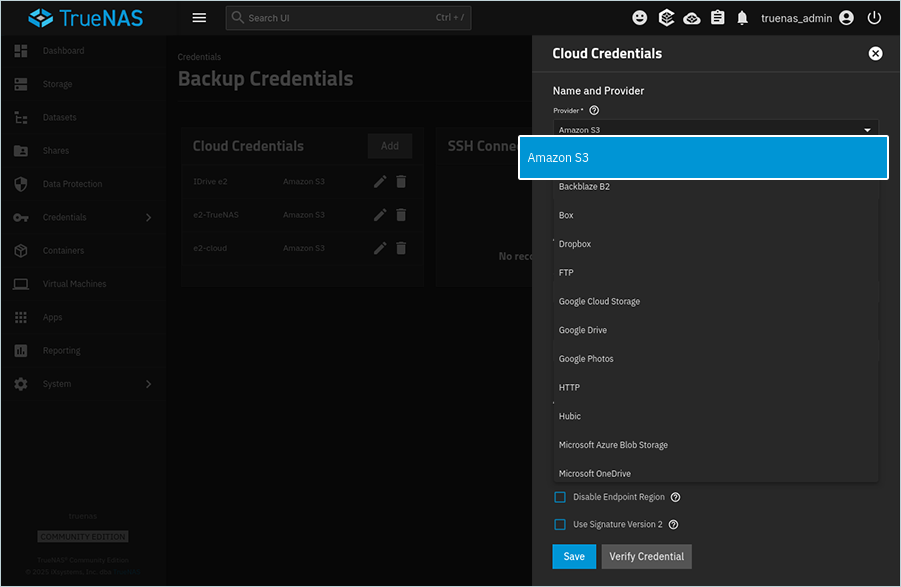
- Under the Cloud Credentials section, click Add.

- In the Cloud Credentials window,
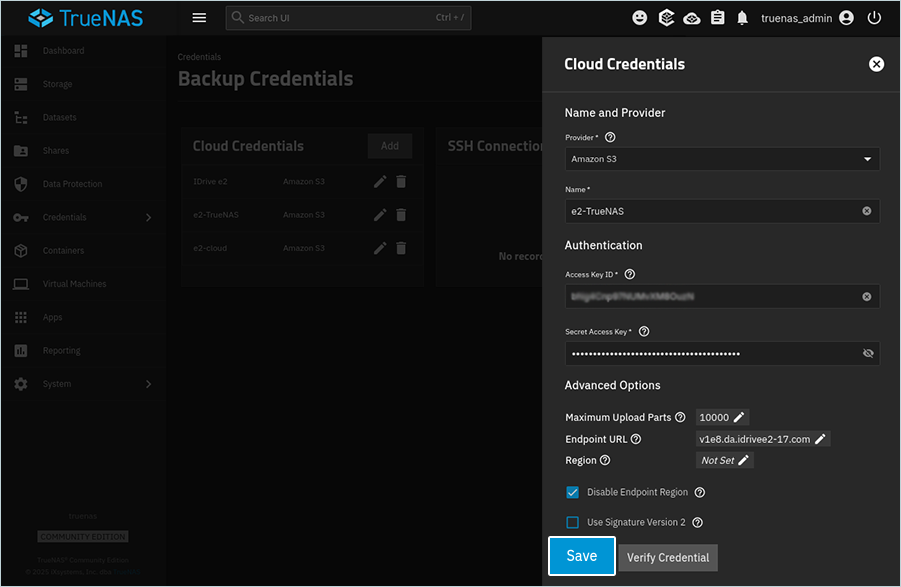
- Select Amazon S3 as the Provider.
- Enter e2-cloud as the Name.
- Enter your IDrive® e2 Access Key as Access key ID.
- Enter your IDrive® e2 Secret Access Key as Secret Access Key.
- Under Advanced Options, click
 to add Endpoint URL.

- Enter your IDrive® e2 S3 endpoint as the Endpoint URL.
- Click Verify Credential and then click Save.
The new credential is saved and listed under Cloud Credentials.
- Select Amazon S3 as the Provider.
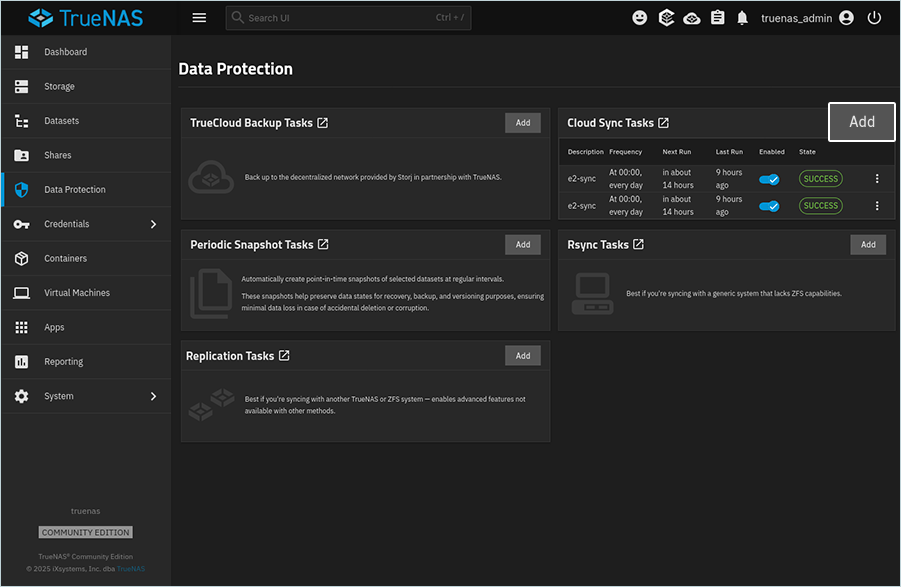
- Navigate to Dashboard > Data Protection.
- Under Cloud Sync Tasks, click Add to add a new task for syncing.
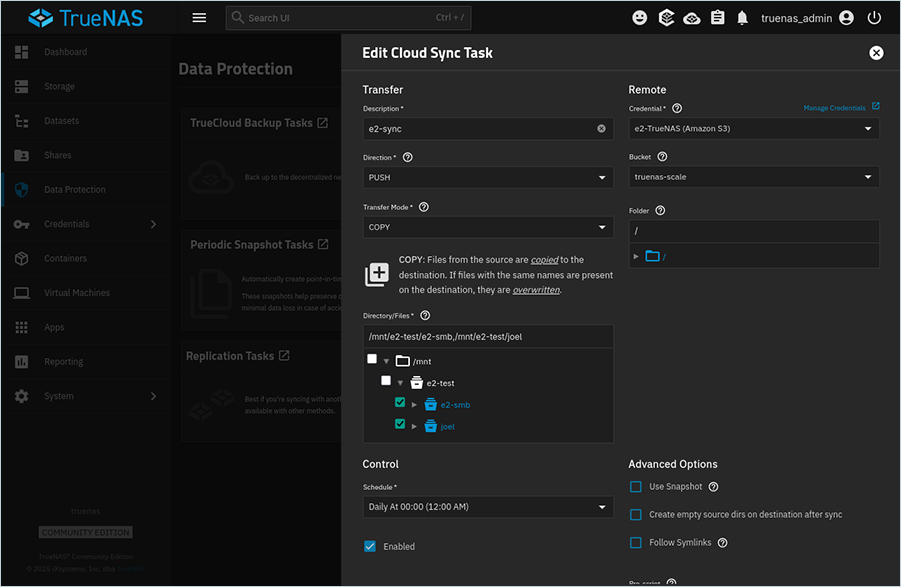
- In the Add Cloud Sync Task window,
- Enter the Description for the task.
- Click the Credential dropdown, and select your IDrive® e2 cloud credential from the list (created in the previous step).
- Click the Direction dropdown and select PUSH.
- Click the Bucket dropdown and select your IDrive® e2 bucket from the list.
- Click the Transfer Mode dropdown and select the transfer mode (In this example, we have chosen COPY).
- Click the Folder path and select the directory or file.
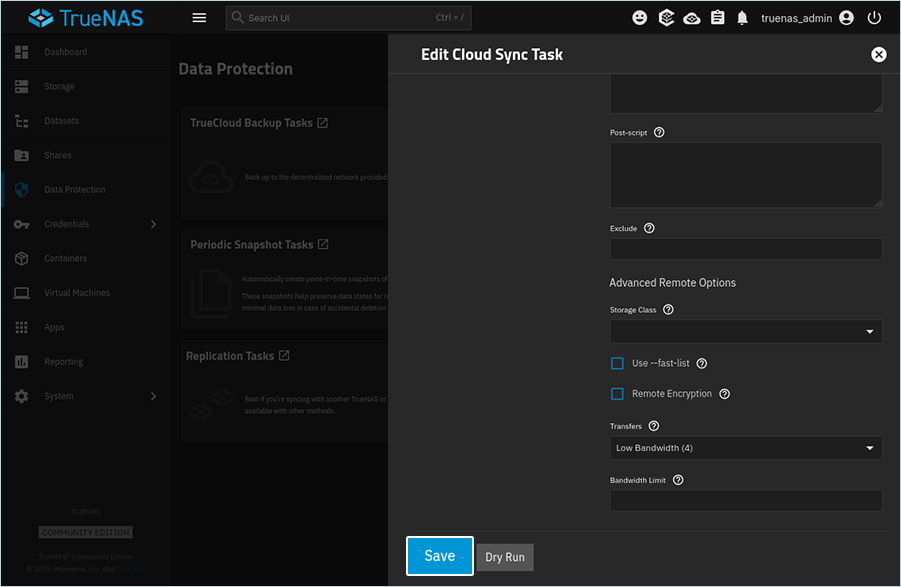
- Scroll down and click Save.
- Once the task is added, click
 for the corresponding task, and then click Run job.
The job will start, and data will get synced to the IDrive® e2 bucket.
for the corresponding task, and then click Run job.
The job will start, and data will get synced to the IDrive® e2 bucket.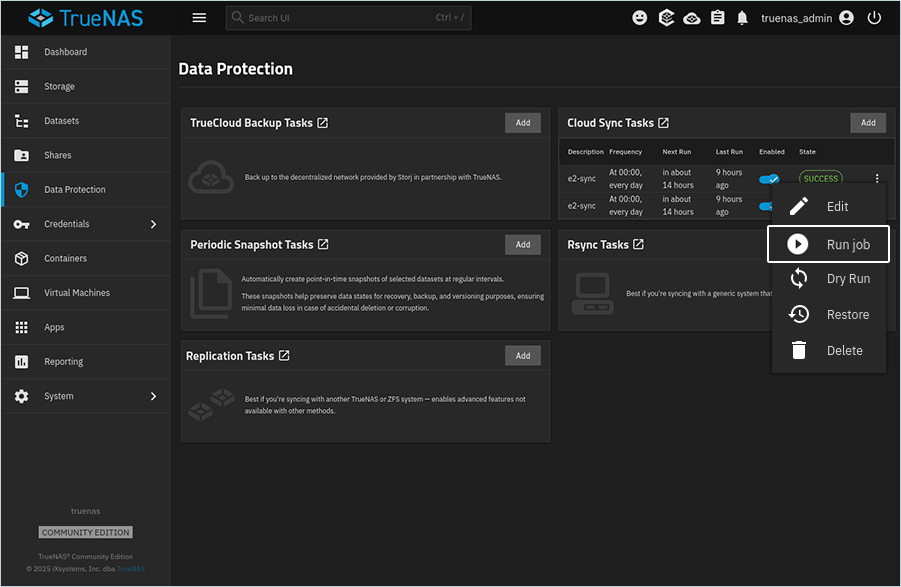
Note: Data restoration is handled by your specific backup solution provider and is affected by multiple variables that are unique to your environment. For application-related enquiries/support, it is strongly recommended you seek guidance from the technical team of your backup solution provider.